Without a pre-provided templated for screw holes, it can be difficult to get the placing correct, especially when hanging upside down under a desk.
Here’s how I do it. You will need:
- Drill/impact-driver and drill-bit
- 2 screws, no longer than the depth of what you are screwing into. Make sure the head fits into the hole on the back of the device and when slid along, will hold
- A device to fit
- Something to fit it to
- And the secret ingredient masking tape.
Step 1
Look at the back of your device and confirm how many screws you will need. Most have two, but the orientation will differ.
Check your screw head fits into the hole and will stay there once you slide the device along.
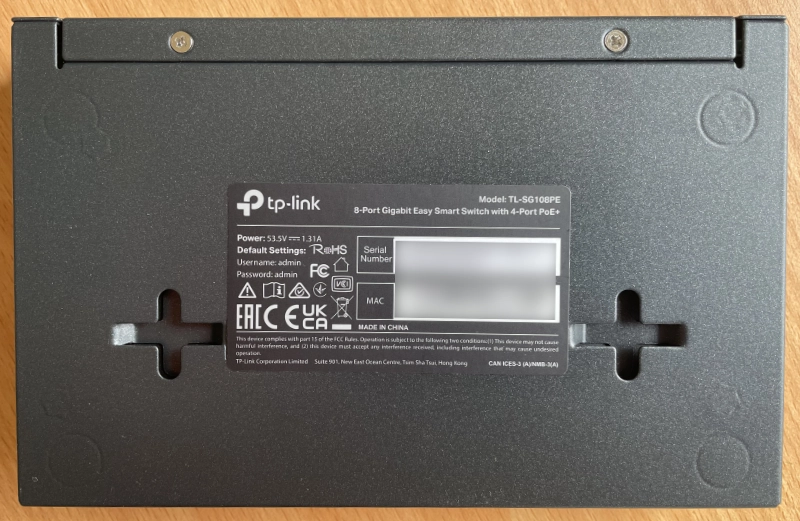
This switch has 3 ways it can be slid onto the hooks.
Now is also the time to check how you will eventually offer up the device. Which way around will you want it to sit?
Step 2
Here is where the magic happens. Take a strip of masking tape and cover the device fixing points.
Poke a hole in the centre. It is where you will be drilling. You can use a marker instead of hole-poking.
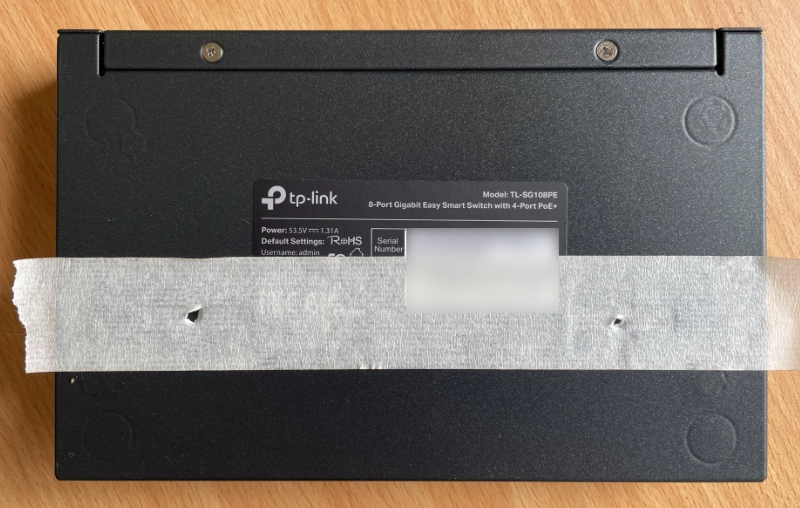
Get it wrong here (before you drill) and all you need to is replace the tape to start again.
Step 3
Carefully remove the tape and stick it to the surface you will drill into. Double-check placement.
Drill and insert your screws.
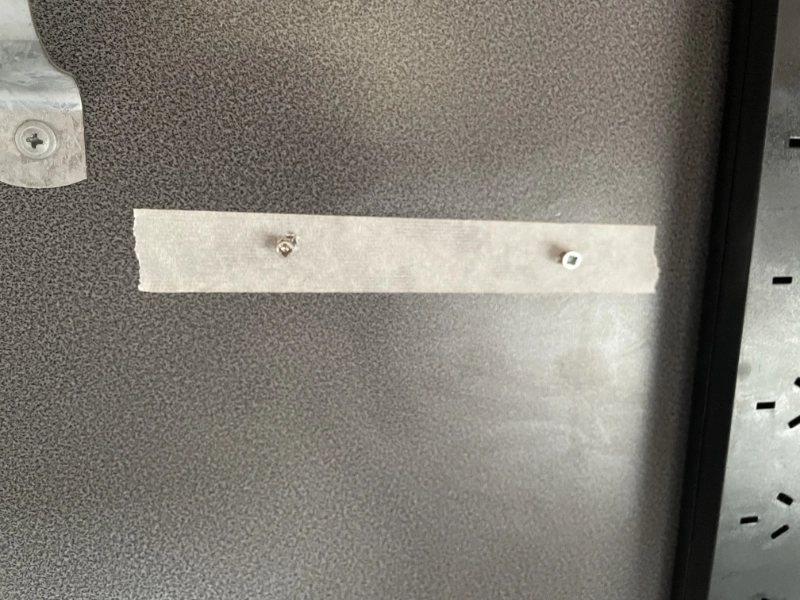
Tape on the wall, with screws in the correct places. The angle is a little off which is the camera.
Step 4
Remove the tape.
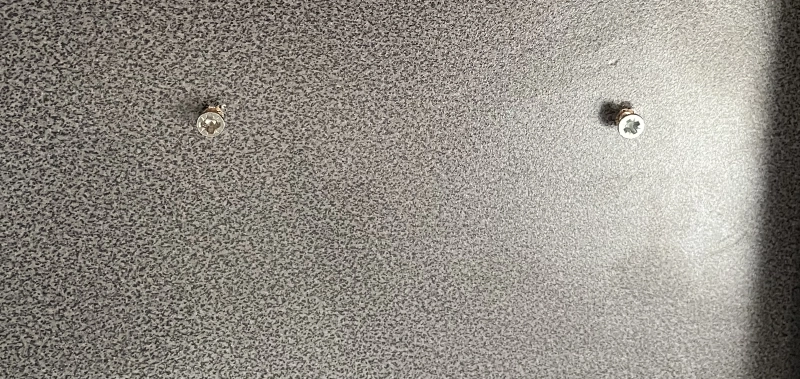
Ready to go.
Step 5
Hang your device.
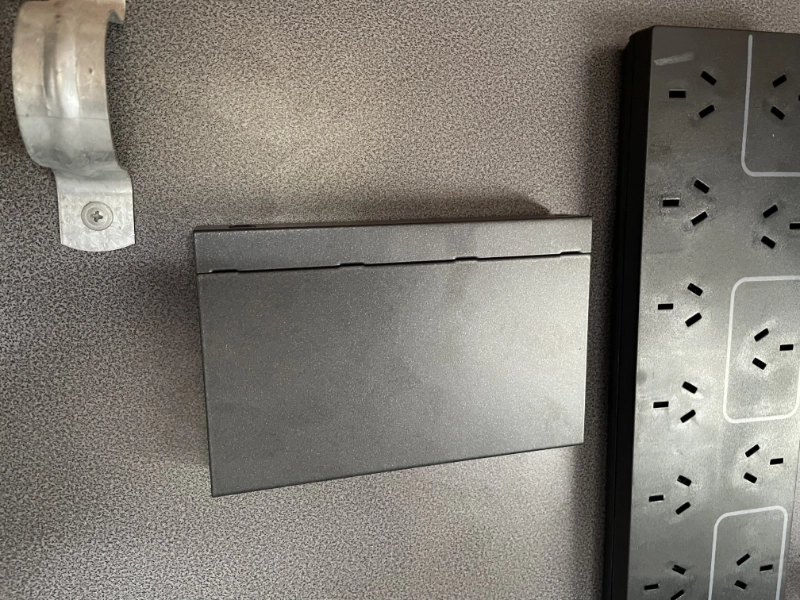
The powerboard on the right was hung the same way. Note also the use of a saddle clip as a cable run solution.
Perfect and secure, right where I want it.